Part of our design your own series
So as mentioned on other parts of the site, the Juliet balcony should be 1100mm high and bar spacing should be no larger than 100mm to comply with building regulations..
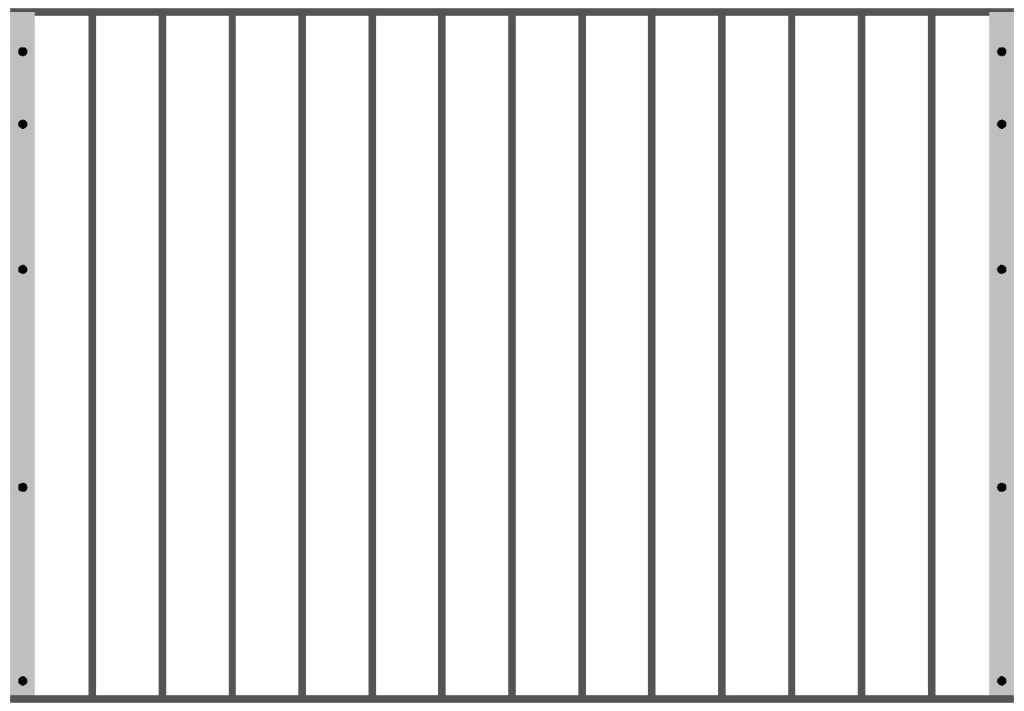
On the left you have the basic ladder, hand rail on the top, flat bar on the bottom, uprights welded between the two
On the right its the same except, 99mm below the top hand rail bar you have a second flat bat where the uprights are welded to, then you have a few interconnecting “objects” between the top flat and the hand rail, so that the hand rail cannot sag and remains rigid if you lean on it.
When i say objects, it could be a piece of bar welded between the two extending those bars beyond the top flat and to the hand rail, or it could be a scroll or a circle, just something to provide support and make the whole frame work rigid and fit for purpose.. Its not unusual to have the “extended” bars from 16mm square rather than 12mm square. what i call “nothing”, because you have done nothing in terms of extra work, except for using thicker bar. That on its own give it a style that’s different from plain upright bars. We use 12mm bars because, using 16mm adds a whole lot of weight to the balcony, making it heavier to get in place and puts more load on the fixings.
. The balcony extends beyond the door by about 300mm (with the exception of a tile hung balcony). I used to put an end bar or corner bar in place, but feed back from builders, that I do regular work for tell me it then becomes a pain in the “proverbial” to fix because the corner bar is in the way of the fixing holes. You realise that by removing the end bar it is still fully building regulation complaint because the last bar goes beyond the door frame, so you don’t have a gap larger than 100mm.
Regardless of which frame you choose they are both the same in terms of design, just the bars on the left image are 1100mm long and the bars on right are 1000mm long.
Looking at the right hand picture you notice the pattern works from the middle, a centre piece then a plain bar, then a repeat of what was used in the centre, then a plain bar. That works perfectly (lucky i drew that way) 1660 from fixing line to fixing line, just works out a nice size, but please don’t just get a 1300mm door because it works nice with the balcony.
In some respects balconies are easier than gates or railings when it comes to the design (exception being tile hung). A gate or railing fits in a gap, if its not the right size it doesn’t fit. That’s not quite true for a balcony fixed to brick work, i say 300mm larger than the door (150mm larger each side), that is just so when the fixing holes are drilled and the balcony is fitted, it doesn’t crack the brick work. A crack where it fixes means its not going to hold in place, meaning it isnt going to do its job. If it was 400mm larger than the door that’s no issue (unless there is a drain pip or obstruction in the way), the extra size might be enough to squeeze an extra bar in, to get a centre bar if that is what the design requires.
As this is unfinished i will add the bar calc tool for railings here (will get one made specific for balconies soon), It works fine, just keep the bar gaps setting below 99mm, tell it the size and it will give the bar count as well as the true gap between bars (leave at 12mm)
You should be able to input you size get the bar count, which now means you have something to work with, as you know the number of gaps,. if you do want a centre bar for a centre piece design, move the slider down to make the gaps smaller, or lie to the tool on how big the balcony is (don’t worry you wont hurt its feelings). Adding a bit of width might change the results a little. Above I did say except tile hung, that because you size will be fixed, it will be where the structural timbers are, usually about 50 to 100mm larger than door size.
So now you have a bar count you can start to work out, how to lay the pattern out, and what you want as a pattern
page 2