How to deal with railings on a slope
Stepped panels
If you have a sloped area were you wish to put railings. there are several ways this can be done. One method to “step” the railings either up or down as required. Lets say you have an 18ft long run that has a slope of 1 ft over 18ft. If you made 3 “normal” panels, each one would need to be set 4 inches higher or lower, than the previous panel.. So it visually forms steps. The down side to this, can be that if you have a ground clearance at one end of 2 inches at the other end of the panel the ground clearance at the other end is going to be 6 inches. Not ideal if the whole purpose is to keep pets in. Easy to make, its just a standard railing with adjustment for slope made to the fixing points.
Raked Panels
Another method is to “rake” the panels. That is to make the panels follow the slope. This means the horizontal bars of the railing (top and bottom bar) are no longer horizontal. But parallel to the ground, the upright bars are still “upright”. The railing becomes a parallelogram, rather than a rectangle. This ensures no large gaps under the railing. More complicated to make as it requires the angle of the rise or fall
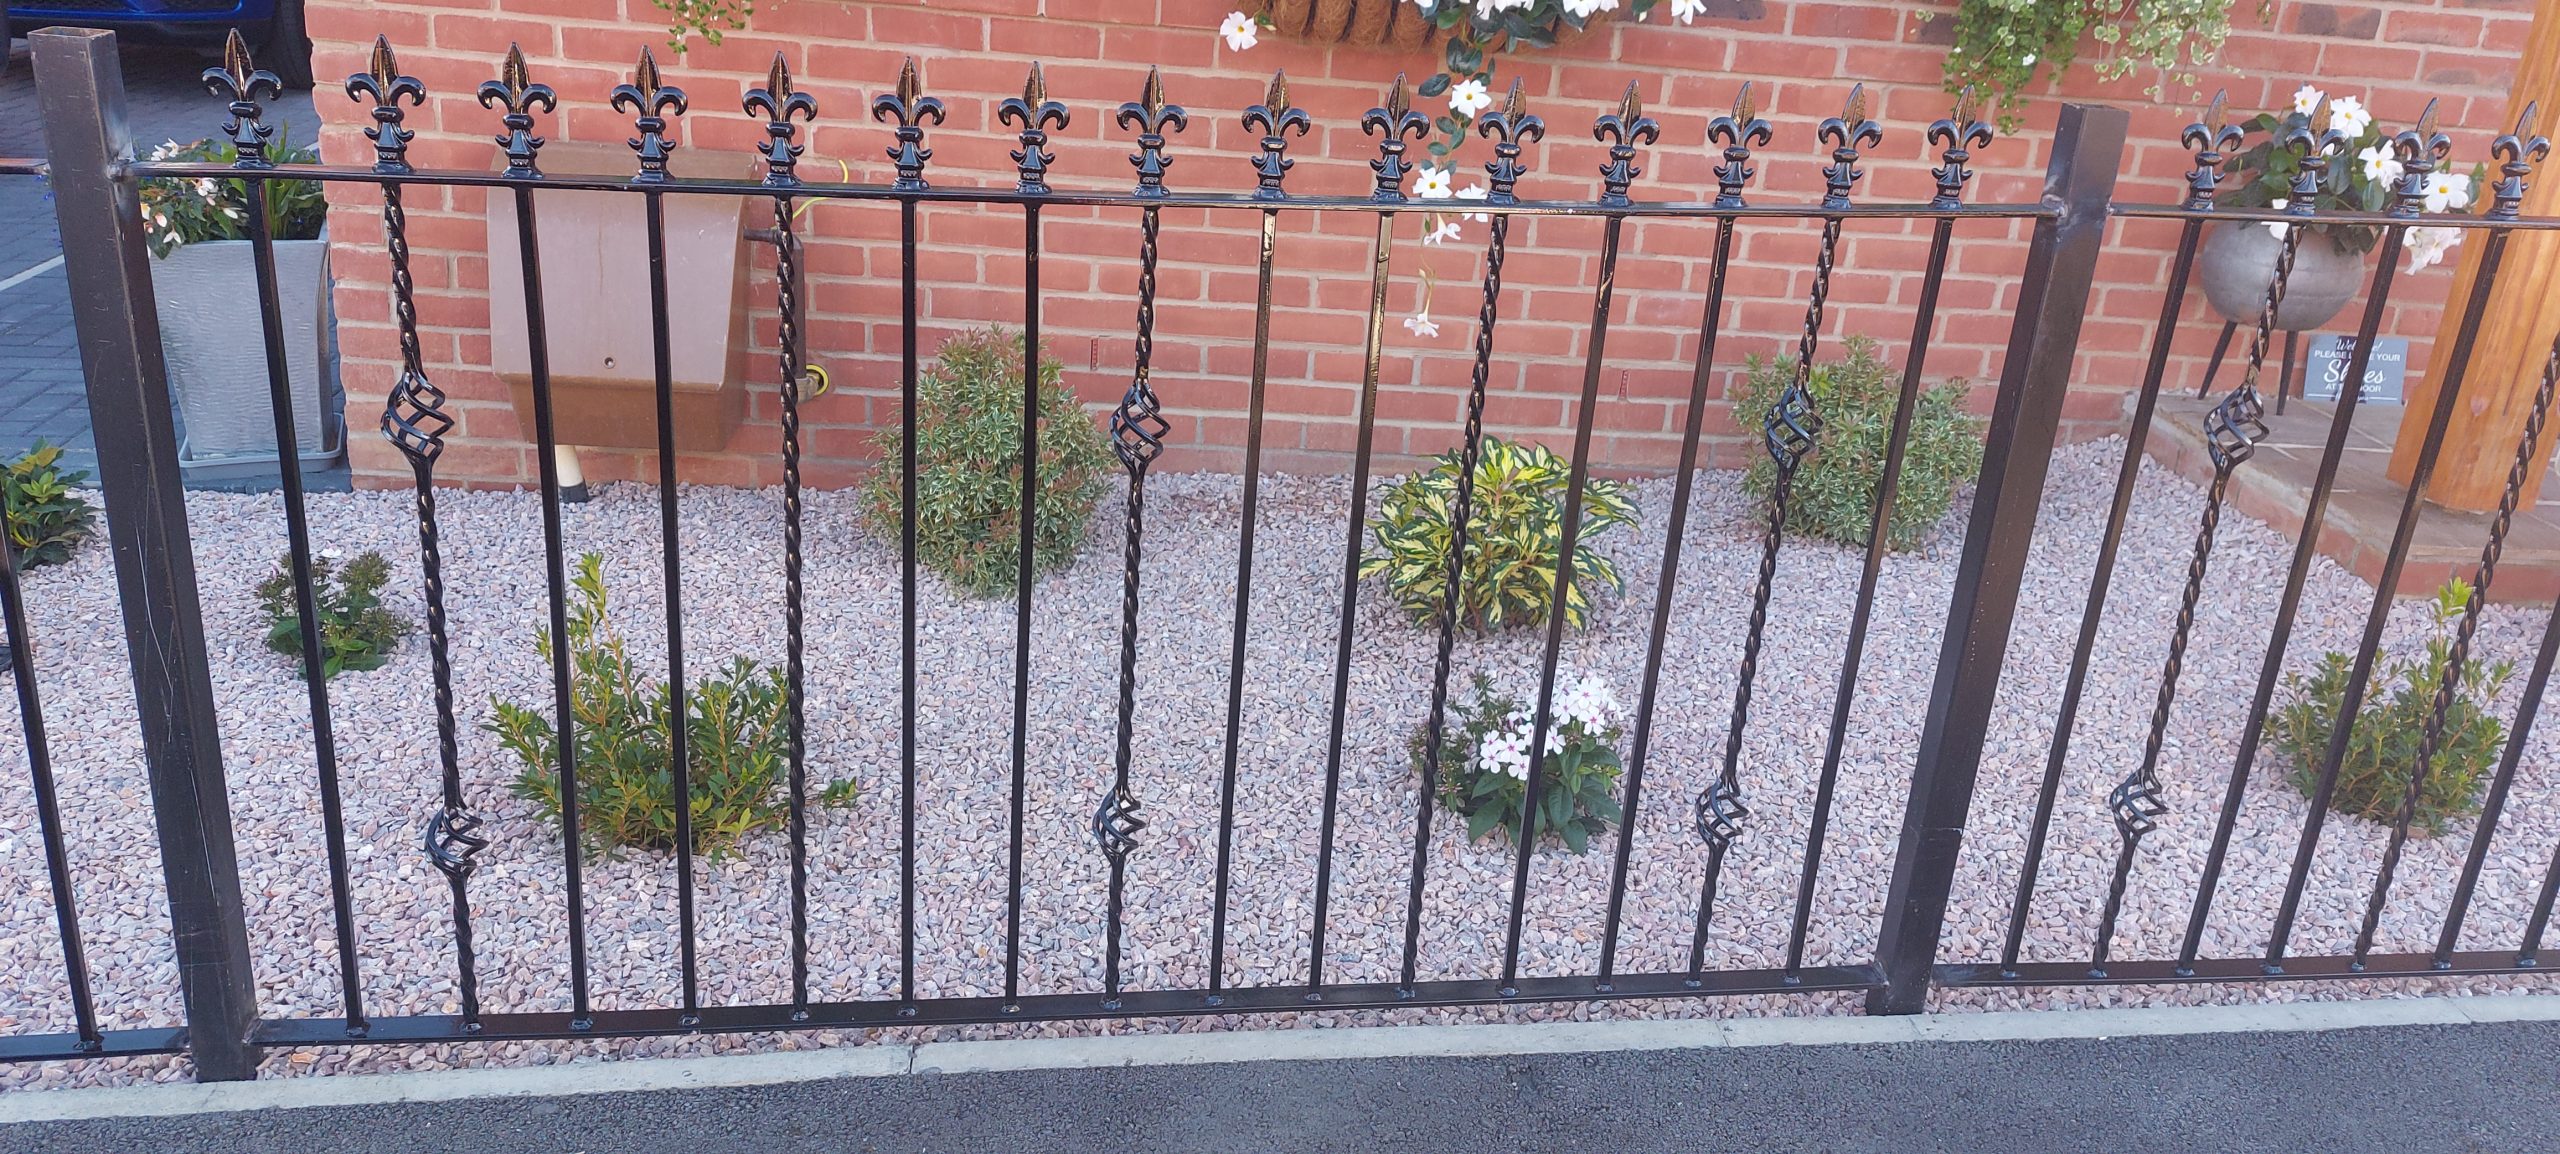
Example of a raked railing, uprights are “upright” but top and bottom follow the slope of the ground. Easy to see against the brickwork horizontals of the house that it has a slope
At this point post caps were not on and final paint up was not completed.
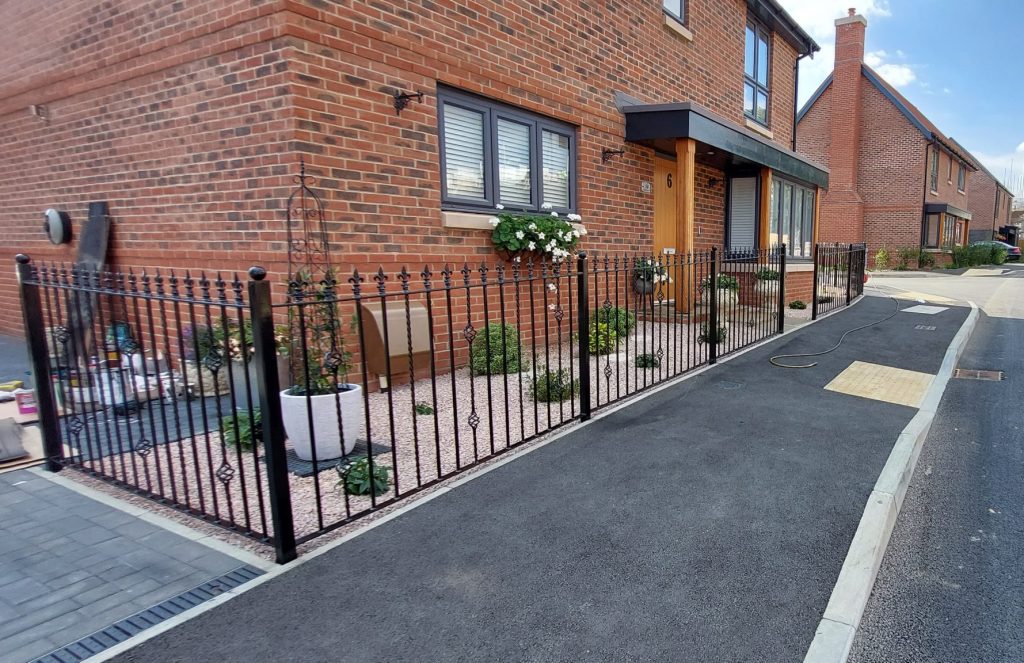
The full uphill run, average slope was about 90mm over 1830mm. From the photo is actually difficult to tell if its sloped or just a bad camera angle. Which means i got it right, because the railing follow the slope The only level panel was the return at the bottom. Which was the easiest to make.
The majority of railing designs can be made on the rake. Contact us for more details.